
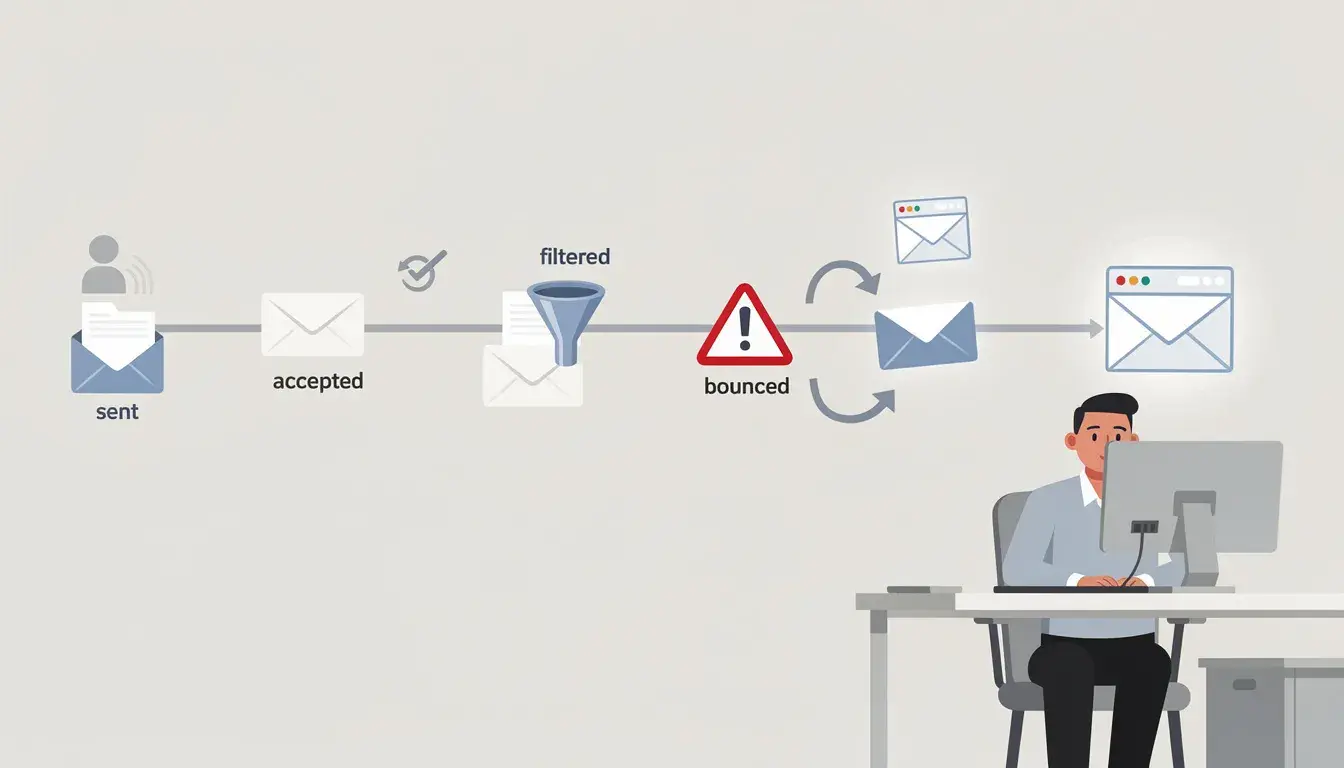
You spend hours on a clients email campaign. The copy is clean, the list is legit, and yet, your emails bounce and open rates tank.
If your emails aren’t reaching the inbox, you’re not “having a bad week.” You’re getting filtered, flagged, and emails are getting blackholed.
Welcome to the blacklist.
Check your list for spam traps and litigators at no cost
An email blacklist is a real-time database of IPs and domains flagged for spam or suspicious behavior. And once you’re on it, inbox placement doesn’t degrade…
It falls off a cliff.
What Is an Email Blacklist?
An email blacklist is a database of IP addresses and domains flagged for sending spam or low-quality email.
Once you’re listed, mailbox providers like Google and Microsoft start treating your emails differently—routing them to spam folders or blocking them entirely.
And here’s the part most people miss:
This happens before your email is ever read.
Your subject line, your offer, your perfectly written copy… none of it matters if your sender reputation is compromised. You’re filtered out upstream, long before you get a shot at the inbox. Once listed, you need an email verification tool.
Public Blacklists Vs Private Provider Blocks
Public blacklists are the ones everyone talks about.
They typically flag your sending IP based on patterns like spam complaints, bad data, or aggressive volume. Most blacklist checkers query these RBLs and return a status in seconds.
Useful, but incomplete.
Private provider blocks are where things get more interesting.
Mailbox providers like Google and Microsoft track far more than public lists ever will. Engagement signals, user behavior, historical reputation, and patterns you don’t get to see.
They don’t need to list you publicly to filter you.
So you can come back “clean” on every public check… and still land in spam across half your list.
That’s not a contradiction. That’s how the system is designed.
If you want a quick baseline across common public lists, tools like MXToolbox can confirm whether you’re showing up publicly. Just don’t mistake that for a full diagnosis.
The Two Outcomes That Actually Matter
At the end of the day, there are only two outcomes that matter:
1. Your email gets rejected
You’ll see hard bounces, SMTP errors, and clear failure messages. Something in your setup or reputation triggered an outright block.
2. Your email gets accepted… and disappears into spam
No bounce. No warning. Just low opens and quiet underperformance.
This second scenario is where most people get stuck.
Because now you’re dealing with filtering decisions — not simple pass/fail rules.
That’s where email header analysis becomes critical.
Headers show the full path your message took — what servers handled it, what authentication checks passed, and how the receiving system classified it along the way.
Instead of guessing, you start seeing:
- Which filters were applied
- Whether authentication aligned properly
- Where reputation signals may have worked against you
And once you can see that…
You can actually fix it.
How Email Blacklists Work
Blacklist systems monitor sending behavior in real time.
They track signals like:
- Spam complaints
- Bounce rates
- Sending volume spikes
- Engagement (or lack of it)
- Known spam trap hits
When those signals cross certain thresholds, your IP or domain gets flagged and added to one or more lists.
From there, mailbox providers use that data as a filtering layer.
Think of it like getting flagged at airport security.
Doesn’t matter where you’re going or how legit your ticket is. You’re not boarding.
To avoid that, make sure to scan your list for spam traps and invalid emails
The Quick Lookup That Decides Your Fate
Every email you send goes through a fast, unforgiving checkpoint.
First, the receiving server evaluates reputation signals before it even accepts the message. If your sending IP or domain looks risky, the connection can be rejected outright—no content analysis, no second chances.
You’re done at the door.
If you pass that stage, your message still isn’t safe.
Once accepted, it gets scored again—based on engagement signals, historical behavior, and filtering rules. That’s why a campaign can show “sent” in your dashboard… while your audience insists it never showed up.
Delivery isn’t the same as inbox placement.
And most systems don’t tell you the difference. The goal is to maintain a clean email list.
IP Lists, Domain Lists, And URL Lists
Not all listings hit the same surface area.
IP-based lists target the sending infrastructure.
If your IP is flagged, every message coming from that source carries baggage.
Domain-based lists go a level deeper.
They track domains that repeatedly show up in unwanted mail. Changing platforms won’t fix this—your reputation follows you.
URL-based lists focus on links inside your emails.
These can react quickly, especially when a domain is tied to phishing or malware. You can have a clean sending setup… and still get filtered because of a single bad link.
Different layer. Same outcome.
Run Your Check The Right Way So Results Make Sense
A result only helps if you’re checking the right layer.
Most people run a scan, see “clean,” and call it done. Meanwhile, deliverability keeps sliding.
That’s because a blacklist check is just a snapshot—not a diagnosis.
What you need is a repeatable process you can run anytime performance drops. Same inputs. Same checks. Same interpretation.
Otherwise, you’re just reacting to symptoms and hoping something sticks.
Check Your Mail Server, Not Just Your Domain
Start with your email infrastructure.
If you’re using a platform, your email is often sent through their infrastructure — not directly from your domain. That means the IP, routing, and reputation signals may sit outside your immediate control.
Check what’s actually sending the mail.
Next, review your DNS.
Your MX records define inbound routing, but they also expose how clean your domain setup is. An MX lookup can surface outdated providers, duplicate entries, or changes that were never fully cleaned up.
Then validate authentication.
SPF and DKIM need to align with how you’re sending. If they don’t, receiving servers can’t reliably verify your identity—and that puts you in a higher-risk category immediately.
In most cases, the issue isn’t hidden.
It’s small configuration drift that went unnoticed until performance dropped.
Use MX Lookup To Spot The Pattern, Not Just The Listing
A single listing rarely tells the full story.
Patterns do.
Start with timing. When did performance change? Then line that up with:
- Sending volume shifts
- New list sources
- Campaign changes
- Infrastructure updates
That’s where the signal lives.
Run controlled tests across major providers. Keep your variables consistent so you’re comparing like-for-like results. If the same issue shows up repeatedly, you’re getting closer to the root cause.
When you see consistent failure, look at recent changes first.
Most deliverability issues come from:
- New sending domains
- Platform migrations
- Misconfigured integrations
- Quick changes that weren’t fully validated
Not random filtering.
Set up light monitoring going forward. You don’t need constant alerts—you just need early visibility, so small issues don’t compound into reputation damage. If you’d like to learn more, here’s the complete guide to email list cleaning.
If You’re Listed: A Practical Fix-It Playbook
When you see a listing, don’t rush to the delisting form.
That’s how you end up right back where you started.
Fix the cause first. Always.
Because if the underlying issue is still there, you’re just resetting the clock. The next send puts you right back on the list—sometimes faster than before.
The fastest path to recovery is simple:
Stop the problem. Remove bad emails before sending.
Stop The Bleeding Before You Delist
Take action immediately. Pause campaigns or slow your send volume so you stop feeding the signal that got you flagged.
Then investigate the obvious causes:
- Account compromise and unusual logins, especially after phishing attacks
- Sudden list growth from low-quality sources
- High complaint or bounce spikes
- Weak authentication that lets bad actors impersonate you
Treat it like a security issue until you rule that out. If attackers can send as you, you cannot protect your reputation with tweaks alone. Verify your email list to protect deliverability and ensure high ROI.
Also, check the technical basics that cause instant failures. A bad server connection, broken authentication, or wrong records can create a flood of bounces that looks like spam behavior.
Delisting That Actually Works
Once you have fixed the root cause, you can respond to the blacklist owner with a clear explanation of what changed. Most operators want proof that you understand the issue and that you have corrected it.
This is where good documentation helps. Keep records of what you fixed, what you changed, and how you verified it. That makes your request credible and speeds up resolution.
Use the right tools to verify your fixes before you submit anything. Confirm authentication passes, sending behavior is stable, and your issue is not recurring.
In many organizations, the best play is to wait briefly after you correct the problem. Some lists auto-expire when they see clean mailing volume. If you rush a request without evidence, you often waste time and get denied.
Why You Got Listed In The First Place
Listings don’t happen randomly.
They come from patterns, usually tied to poor data, aggressive sending, or signals you ignored.
Volume Spikes, Bad Lists, And Spam Traps
A sudden jump in volume can look suspicious, even when your intent is legitimate. The same thing happens when you connect a new lead source, and it quietly adds low-quality addresses.
Spam traps and complaint spikes often follow. If your engagement drops and almost nobody opens or clicks, filters assume people did not ask for your mail.
Authentication And Infrastructure Gaps
Weak authentication lowers the barrier for abuse.
If SPF, DKIM, or alignment are misconfigured, receiving servers can’t reliably verify that your mail is legitimate. That opens the door for spoofing—and once bad traffic starts riding your domain, your reputation takes the hit.
You also see listings from simple operational failures.
A DNS change gets pushed. A sending domain is updated. A provider is swapped. Something breaks quietly—and suddenly bounce rates spike or authentication fails at scale.
From the outside, it looks like spam behavior.
From your side, it looks like nothing changed, but the difference is in the small details.
The faster you trace those signals back to configuration or infrastructure, the faster you stop the damage at the source.
Staying Clean Without Overthinking It
Once you’re stable, the goal is consistency.
Keep your sending cadence steady. Avoid sudden volume spikes that reset trust signals.
Validate emails at the point of capture so bad data never enters your system. Find emails that could get you blacklisted. That one step removes a large percentage of future problems.
Then monitor the core signals:
- Bounce rate
- Complaint rate
- Engagement trends
When those start to drift, treat it as an early warning, not something to ignore until it becomes a bigger issue.
Quick Answers People Usually Need Right Now
If you’re listed and emails are bouncing, we usually pause bulk sending first. Then we send only the essentials while we fix the cause, like password resets, billing notices, or support replies. That keeps damage from spreading while you stabilize.
If you’re clean on major blacklists but inboxing is still weak, we treat it as filtering.
At that point, focus on:
- Authentication alignment
- Sending patterns and volume
- List quality and engagement
Recovery time varies, but you can often see improvement within days when you stop the trigger and keep your sending consistent. Make sure to run a free scan with Verify550 to see if there’s any hidden landmines.
The Bottom Line
A blacklist result is a signal, not a verdict.
If you’re listed:
- Stop the trigger
- Fix the issue
- Then request delisting with proof
If you’re not listed:
- Focus on authentication
- Clean your data
- Stabilize your sending
Put a simple monitoring routine in place, and most problems get caught early, before they turn into reputation damage. Once you’ve checked to see if you’re on a blacklist, fix what’s putting your deliverability at risk. Create your free Verify550 account to get started.